Table of Contents
SSL
IIS Manager
OBTAIN A CERTIFICATE
Select the server node in the treeview and double-click the Server Certificates feature in the listview:
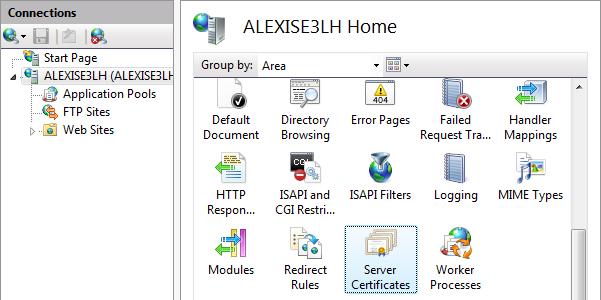
Click Create Self-Signed Certificate… in the Actions pane.

Enter a friendly name for the new certificate and click OK.
Now you have a self-signed certificate. The certificate is marked for “Server Authentication” use; that is, it uses as a server-side certificate for HTTP SSL encryption and for authenticating the identity of the server.
CREATE AN SSL BINDING
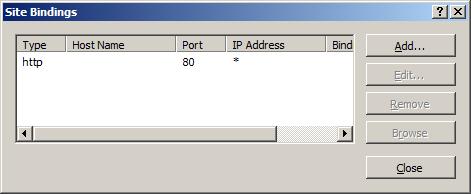
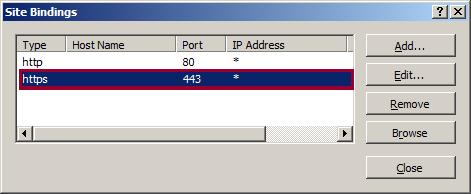
Select a site in the tree view and click Bindings… in the Actions pane. This brings up the bindings editor that lets you create, edit, and delete bindings for your Web site. Click Add… to add your new SSL binding to the site.
The default settings for a new binding are set to HTTP on port 80. Select https in the Type drop-down list. Select the self-signed certificate you created in the previous section from the SSL Certificate drop-down list and then click OK.
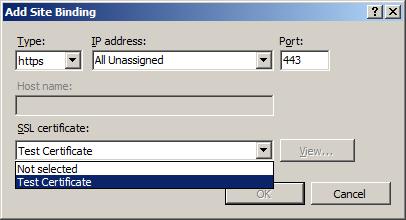
Now you have a new SSL binding on your site and all that remains is to verify that it works.
VERIFY THE SSL BINDING
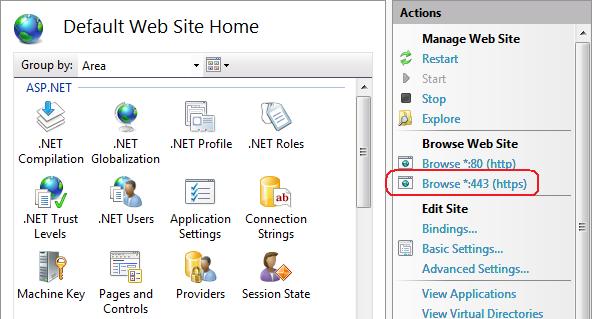
In the Actions pane, under Browse Web Site, click the link associated with the binding you just created.
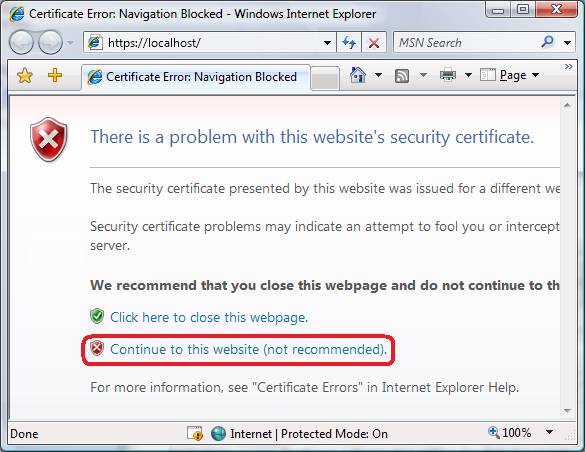
Internet Explorere (IE) 7 and above will display an error page because the self-signed certificate was issued by your computer, not by a trusted Certificate Authority (CA). IE 7 and above will trust the certificate if you add it to the list of Trusted Root Certification Authorities in the certificates store it on the local computer, or in Group Policy for the domain.
Click Continue to this website (not recommended).
